
Anywho, moving along here, as you can see, the challenge this month was on stocks, soups, and consommes. Our host, Peta, challenged us to make our own stock from scratch and then use it to make either a soup or a consomme or both (for over-achievers) and some kind of accompaniement for you soup, such as bread.
I don't know about you guys, but I.LOVE. SOUP. I'm more of a hot-rustic-soup-full-of-veggies-on-a-cold-winter-night than a sophisticated-chilled-summer-fruit-soup person, but all the same I love me a bowl of good soup! Hence, I was pretty darn excited for this challenge (even if I would have prefered it come a few months later...). For those of you who don't know, consomme is a soup made from stock that is clarified (removed of impurities to be clear) and then flavored and garnished with small pieces of vegetables, meat, herbs, and even tapioca pearls. However, as cool as consomme is, if I have a choice between a good hearty soup and consomme, I WILL choose the soup, so sorry, we'll save the consomme for another time guys!
We make all our own stock at school in huge 30 gallon batches that sit around all day, smelling like childhood memories while we all hussle and bussle about our culinary lessons for that day so I wasn't too worried about that portion of the challenge, though I rarely make stock at home. Yes, I did make some pretty awesome chicken stock in a previous post, but honestly I rarely have much need for stock so I just don't put forth the effort. Usually if I'm making soup, the stock kindof is one in itself with the soup as I'm making it. But of course, for this challenge I would take the extra work.
Unfortunately, my plans to have this great day of making stock and soup didn't go quite as planned. First of all, the broccoli that I was going to use for cream of broccoli soup and broccoli stock dissappeared -Dad?!- and all I had left for stock vegetables was onions and carrots, which isn't too bad for a beef or chicken stock, but for a VEGETABLE stock...you usually want more than 2 vegetables to work with! *sigh* So what did I do? Did I do the good food-loving thing and run out to get some celery and parsnips and the sort? Ah, no. Sadly, I decided to turn my unfortunate situation into an experiment of sorts. A very lame experiement. Without much measuring and scientific thought I chopped up some carrots and onion and lightly browned them in my stock pot, added a few cups of water and a sachet of herbs, and I winged my stock.
I wish I could tell you that all of my culinary training and my ingenious food instinct paid off and I some how made an incredible 2-vegetable vegetable stock...however that would be a terrible lie. The real end result? My stock was ok...it looked right and had potential, but lacked a lot of body. However, I wasn't too depressed because the few times we have made veggie stock at school, this seems to be the case. We often have to let it cook much longer than the recommended 45-60 min and add a whole lot more vegetables because otherwise it is just watery and bland without the stong supporting flavor of beef, fish, chicken, etc. So I don't have really any beautiful set of posed veggie stock pictures for you to enjoy (I'm lame I knoooow), but I'll have to make up for it this winter when I decide to start keeping stock on hand.
And now onto happier trails...THE SOUP! Yes, it is rather depressing that I was not able to make my much-anticipated broccoli soup, but I promise that it won't be long my friends, cold days are coming fast! Instead, I found a fabulous-looking recipe on the blog Satisfied for a Roasted Tomato Bell Pepper Soup with Italian Herbed Polenta Croutons. I was sort of forced into choosing this recipe beause I was down to only so many vegetables, but all the same, it sounded so good and provided a great way for me to utilized my stock (even if it came out less-than-satisfactory).
So here's the funny thing about this recipe: it sounded really great from a glance, pretty simple and straight-forward without being boring, yet when I went about making it, it got pretty complicated. Granted, it may just be me, unable to leave a recipe alone, but I feel like this recipe just need some good tweaks here and there. Now don't get me wrong, the end result was AMAZING. I LOVED the soup and I'll definitely be making it again, but how I went about getting that result was by using the recipe much more as a suggestion than a guidline. Still, because it was so good, I'm going to try and write-out what I did and you can all check out the original recipe on the link above to see the differences.
Serves 6-8
Roasted Tomato and Bell Pepper Soup
· 2- 28oz cans peeled tomatoes
· 1 cup roughly chopped white or yellow onion (about 2-3 small onions)
· 3-4 large garlic cloves
· 2 medium roasted red peppers, peeled with stem and seeds removed
· ¼ cup olive oil
· 1 teaspoon kosher salt
· ½ teaspoon freshly ground black pepper
· 2-3 Tablespoons packed brown sugar
· 10 large fresh basil leaves or 1-2 Tbsp dried basil
· Vegetable stock to thin, if desired
· Strips or roasted or sauteed yellow bell pepper to garnich (optional
1) Preheat oven to 450 degrees, place rack in the top of the oven, and line a large baking sheet with foil.
2) Drain tomatoes, reserving the juice, and then gently squeeze the tomatos to remove as much excess juice as possible. You should have about 4 cups of juice.
3) Place tomatoes, pre-roasted peppers, onion, and garlic on baking sheet and gently toss with olive oil, salt, pepper, and sugar.
4) Roast in preheated oven for 30 minutes (check at 20 and make sure everything is cooking evenly and if you need to stir things around). You want everything to be nice and soft with blackened edges if possible.
5) Remove from oven and carefully spoon/pour everything from the pan into a blender or food processor or put it all in a pot and use an immersion blender. Add the basil and blend everything together until smooth. If you want a thinner consistency, add some vegetable stock.
6) Continue blending and gradually add in the reserved tomato juice.
7) If not already in a pot, pour your soup into a pot. From here you can serve the soup slightly warm/room temp, like I like it, or you can heat it up or chill it down. It is delicious at any temperature. Serve with Italian Herbed Polenta Croutons (recipe below)
· 2 cups vegetable stock or water
Italian Herbed Polenta Croutons
· ½ cup milk
· 1 cup polenta (or yellow cornmeal)
· 1 Tbsp dried basil
· 2 tsp dried oregano
· 1 tsp dried rosemary (chopped up if it is large)
· 1/8 tsp dried thyme
· Salt
· Freshly-ground black pepper
· 1 Tablespoon unsalted butter
· 1 Tablespoon grated Parmesan cheese
· Olive oil
1) In a medium sauce pot combine stock/water and milk and bring to a boil. In the meantime, grease an 8X8 in square pan.
2) Add the polenta all at once and stir to combine. Reduce the heat to medium and continue stirring until thick, 5-10 min.
3) Remove from heat and stir in the butter, cheese, and herbs. Season to taste with salt and pepper.
Pour the polenta into the prepared pan, smooth into an even layer, and refrigerate at least 15 to firm up.
Pour the polenta into the prepared pan, smooth into an even layer, and refrigerate at least 15 to firm up.
4) Cut polenta into small cubes (about the size of large dice) or into other desired size/shapes.
5) To cook, either heat some oil in a sauté pan and brown the polenta on both sides, or toss the cubes with oil and bake them in the oven at 450 F until crispy and browned (I’m not exactly sure of the time on this because I kept working on other things and checking on them, but it seemed to take a while. I’m thinking about 15 min, but watch them carefully).
6) Serve croutons right away on top of the soup. Left-overs soften-up the next day so you may want to eat them all right away.


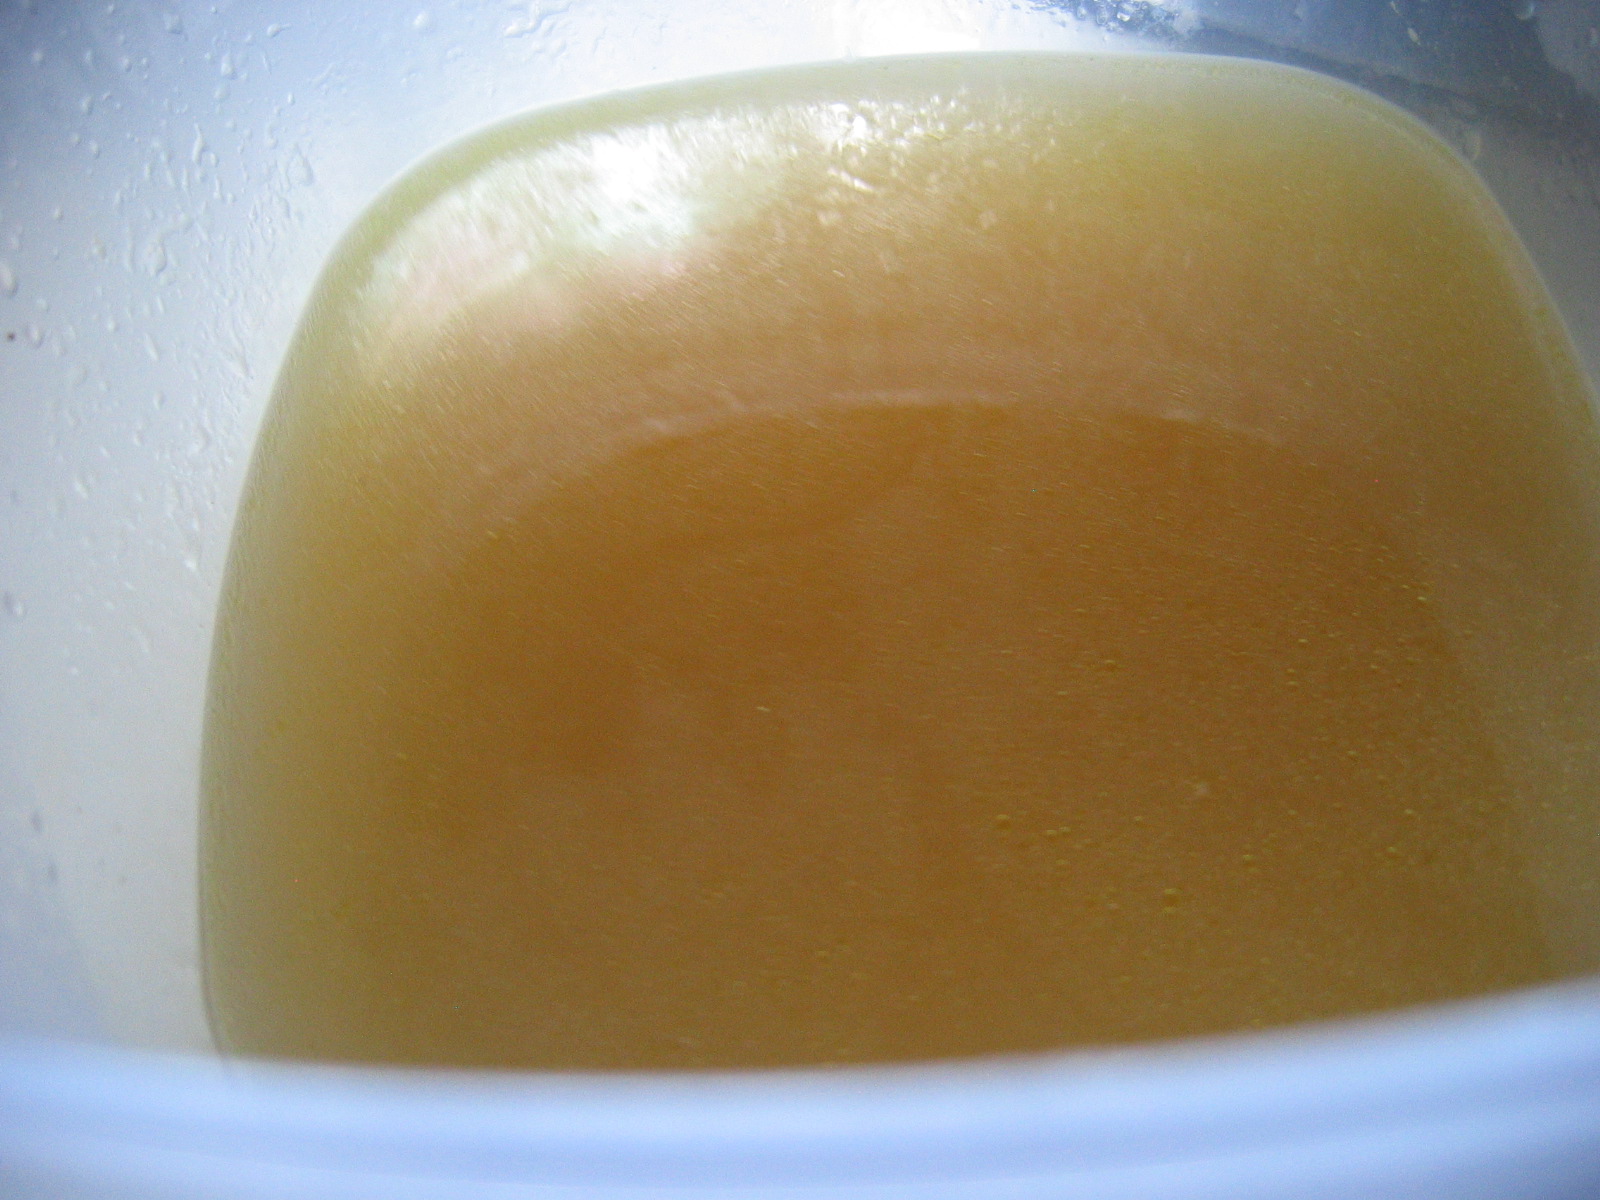
Say hi to my sad stock everybody! Okay,
now say goodbye because we're aren't going to
see this guy anymore. No, we didn't like him,
but he'll be better next time! Okay moving on!

Next time I make this soup I would like to see if I
could eliminate the extra step of roating the peppers.

I like how this soup is unique in that everything gets
roasted in the oven instead of simmering on the stove.

After 30 min of roasting, my pan had warped
in the oven, meaning the oil slid all to one side
leaving me with some vegetables unbrowned
and others frankly black. Still, I scraped it all
together and it was fine, but I'll ues another
pan next time!

From a pot of veggies and fruit....

To a pot of very delicious, very impressive soup.
(it might look really thick like pasta sauce, but
when you taste it, it is actually very light and full
and perfect, so don't let looks deceive you).

Onto the croutons!...oh the croutons...

I'm not a big polenta person, so I really was
winging this whole polenta crouton thing, but
my mom's favorite thing about them was the
cheese, so don't leave it out! (unless you want
these to be vegan, then okay). By the way,
this is high quality parmesan-reggiano, oh yeah.
Good stuff.

Do not use finely ground, powedery herbs for this
if you want your polenta to stay a nice yellow.
The color of your stock will also be a factor.
Then again, if you're just going to brown these in the
oven it doesn't matter much, but if you look at the pictures
in the original recipe you will see nice yellow croutons.
Hmmm, I'll have to work on that one...

Oh these guys? Yeah these are my sauteed
yellow peppers. My own addition. And a
good one if I do say so myself :)

Soooo I follow the original instuctions to panfry
the croutons, but I found that they didn't brown
evenly, they were difficult ot work with, they
kept coming apart, and the outside became crunchy
while the inside was still mushy. If that sounds like
what you are looking for, well then go right ahead
and panfry those suckers. I, however, tried baking
the other half to much better results. Even browning
and better texture, plus they didn't fall apart.

So after all my hard work and fun experiementing,
I was rewarded with one tasty bowl of soup and
I'll worry about perfecting my vegetable stock-
making skills later!


