I think I may have taken the title of this challenge a little too far this past week as it's been tech week with the musical and the good times have been rolling, but the DC challenge got neglected until the very VERY last minute once again. I'm gonna have to work on that!
However, in my defense, I did devote a special shopping trip on Thursday to buying all the things I need and then my whole Friday to making all the food without cutting any corners...or at least not too many.
So the challenge we were presented with this month comes to us from Louisiana: Gumbo! I've only had gumbo a few times in my life and I'd never even really thought of making it before, but it didn't seem like one of those dishes that whole require too much work or skill so I wasn't worried. What I discovered while making the gumbo yesterday, though, was that it was actually like any other meal in that you can make it as simple or as complicated as you want. You can buy a can of gumbo and a box of microwaveable rice and you can have gumbo. You can also buy chicken meat, premade chicken stock, a packet of gumbo spices, and a box of instant rice and you can have gumbo. OR you can do it the DC way and buy whole chickens, make your own stock, render your own fat, make your own creole spice blend and make Louisiana White Rice. It all depends on how much time you want to put into it, how much fun you want to have, and how satisfied you want to be when you take that first bite.
Really to make the gumbo itself was not hard at all or even that time-consuming. You can make your own stock and fat ahead of time and even chop all of your ingredients and then just throw them together when you have time and then let the gumbo cook for a few hours.
However, after making gumbo for the first time, I think I've decided that the best way to make it, is with lots of friends and family who can help in the preparation and who can share in the eating! Not only would this make the work really quick and easy, but you also don't have to eat the same meal for two weeks because this recipe makes a LOT. Honestly, though, even with never having been to Louisiana myself, I just get this feeling that gumbo is one of those meals that is meant to be shared with all and enjoyed by many. Any one else get imaged from The Princess and the Frog, where all the neighbors come together and eat on the back porch? :)
Now to try and simplify this post somewhat and reduce the amount of photos you have to scroll through on one page, I've decided to break up some of the steps into separate posts. The chicken fabrication, making the stock, and rendering the fat will all be separate posts so that you can choose to do the extra work or you can buy chicken parts, stock, and chicken fat at the store. It's up to you, but that way you can also use the separate posts for other occasions.
Chicken and Smoked Sausage Gumbo
Adapted from My New Orleans: The Cookbook, by John Besh
Ingredients:
§ 2-3 tablespoons Basic Creole Spice Mix (recipe follows)
§ 1 cup rendered chicken fat, duck fat, lard, butter, or a combination (I used ½ chicken fat, ½ butter) (How to render chicken fat) § 1 cup all-purpose flour
§ 2 large onions, diced
§ 2 pounds spicy smoked sausage links, sliced ½ inch thick
§ 2 stalks celery, diced
§ 2 green bell peppers, seeded and diced
§ 1 tomato, seeded and chopped
§ 3 large cloves garlic, minced
§ Leaves from 2 sprigs of fresh thyme
§ 2 bay leaves
§ 6 oz andouille sausage, chopped (couldn’t find any, but I’m sure it would be good!)
§ 2 cups sliced fresh okra, in ½ -inch thick slices (or frozen, if fresh is not available)
§ 1 tablespoon Worcestershire sauce
§ Salt, to taste
§ Freshly ground black pepper, to taste
§ Filé powder, to taste (couldn’t find any)
§ Tabasco, to taste
§ Rice to serve
Preparation:
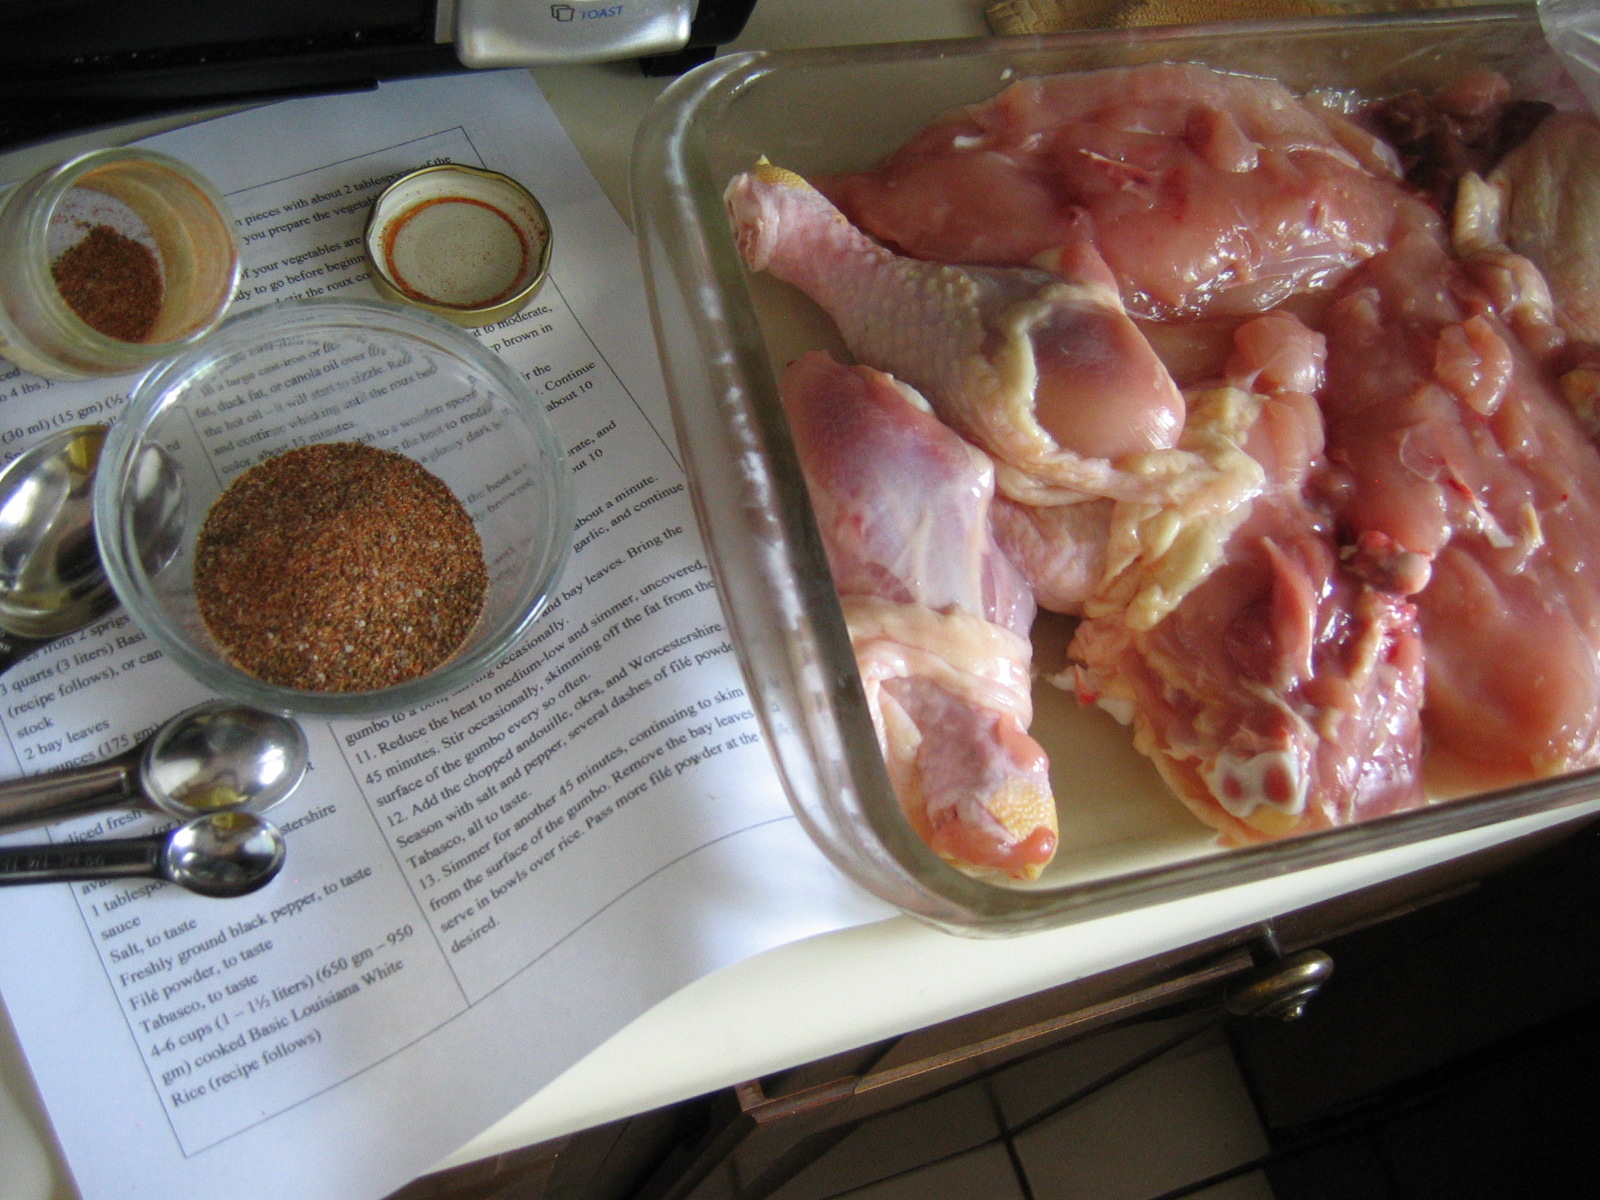
1. Season the chicken pieces with about 2-3 tablespoons of the Creole Spices while you prepare the vegetables.
2. Make sure all of your vegetables and sausages are cut, diced, chopped, minced and ready to go before beginning the roux. You must stand at the stove and stir the roux continuously to prevent it from burning.
3. In a large cast-iron or heavy-bottomed pan, heat the fat over med-high heat. Whisk the flour – it will start to sizzle. Reduce the heat to medium and continue whisking until the roux becomes deep brown in color, about 15 minutes.
4. Add the onions. Switch to a wooden spoon and stir the onions into the roux. Reduce the heat to med-low. Continue stirring until the roux becomes dark brown, about 10 minutes.
5. Add the chicken to the pot; raise the heat to moderate, and cook, turning the pieces until slightly browned, about 10 minutes.
6. Add the sliced smoked sausage and stir for about a minute.
7. Add the celery, bell peppers, tomato, and garlic, and continue stirring for about 3 minutes.
8. Add the thyme, chicken stock, and bay leaves. Bring the gumbo to a boil, stirring occasionally.
9. Reduce the heat to med-low and simmer, uncovered, for 45 minutes. Stir occasionally, skimming off the fat from the surface of the gumbo every so often (check and make sure nothing is sticking on the bottom!)
10. Add the chopped andouille, okra, and Worcestershire. Simmer for another 45 minutes or longer, continuing to skim the fat from the surface of the gumbo. (At this point I removed the chicken pieces and removed the bones which were barely holding on, but the extra work is up to you.)
11. Remove the bay leaves, Season with salt and pepper, several dashes of filé powder, and Tabasco, to taste.
12. Serve in bowls over rice.
Basic Creole Spice Mix
Adapted from My New Orleans: The Cookbook, by John Besh
Ingredients:
§ 2 tablespoons celery salt
§ 1 tablespoon sweet paprika
§ 1 tablespoon coarse sea salt
§ 1 tablespoon freshly ground black pepper
§ 1 tablespoon garlic powder
§ 1 tablespoon onion powder
§ 2 teaspoons cayenne pepper
§ ½ teaspoon ground allspice
Preparation:
1. Combine all of the ingredients in a spice grinder (or wiped-out coffee grinder) or mortar and pestle and store in an air-tight container. Makes about ½ cup.
I make 1/3 of the recipe of the spice mix and
it was just about the perfect amount for
seasoning the chicken. I also replaced the
celery salt with celery seed + a little kosher
salt.
I went heavier on the spices and rubbed them
about 30 min before they would be cooked
to give them an extra flavor boost
I wasn't sure whether or not to leave the skin
on the legs and wings of the chicken. At school
we are supposed to only skin the breasts, which
is what I decided to do, but next time I will skin
everything and render it for the fat because all
it did in the gumbo was release fat and then fall
off and I ended up having to pull it out later.
Mise en place (everything in its place) is very
important in making gumbo as you really do
NOT have free hands at all once the roux gets
started. If you're afraid of this getting too time-
consuming, you can easily chop them the day
before or when you have time and then just
have them ready in the fridge. I do this with
several recipes and it makes the final cooking
a breeze!
From the skin of 4 breasts and 2 necks and any
other trimmed fat I got about 1/2 cup rendered
chicken fat. At school we mostly use butter for
our rouxs so I just used 1/2 cup (1 stick)
unsalted butter to make up the other half of
the fat for the roux and I think it worked
just fine.
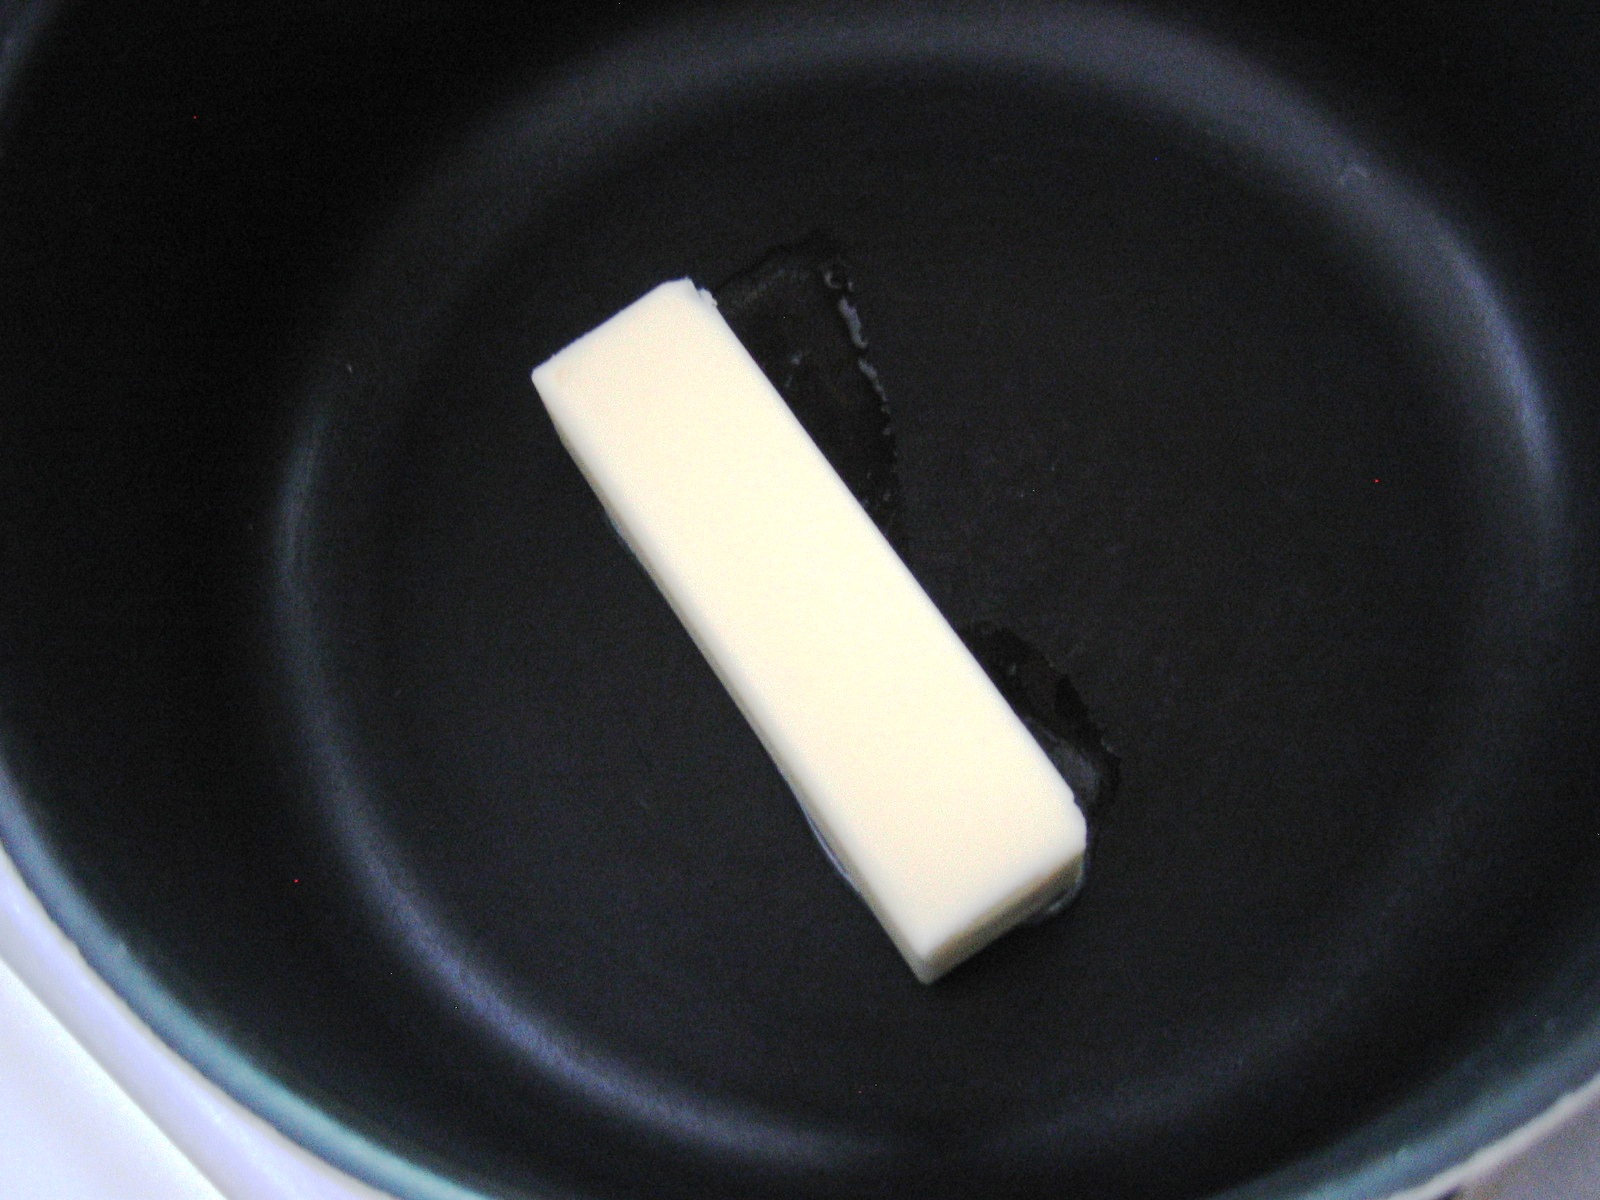
I clarified my butter so that the milk solids
wouldn't burn as I made the roux, but I don't
think its really necessary. If you DO want
to clarify your butter though, just melt it in
your pot and skim off the milk solids (the white
parts you see above) and you'll be left with
just the fat.
You really want to keep the roux moving with
a good whisk going constantly because flour can
burn very quickly (taking pictures was a bit
of a challenge!)
At the first stages of cooking, when the fat and
the flour have just come together, it is called a
white roux. Once the roux has reached a tan
sort of color, it's called a blonde roux.
For gumbo, you want a brown roux about the
color of chocolate (darker than the picture
above!) My blonde roux gave off sort of a
popcorn-like smell which I thought was
interesting...
At this color or brown my roux started smelling
strangely like coffee to me...not sure what the
deal was about that, but I didn't taste anything
in the end product. Any thoughts from the
experts?
You really want to have a big a pot as possible,
especially when you add the chicken! I used
our biggest pot and I still had a hard time
turning the chicken enough to let it brown and
not burn the roux...I might do this differently
next time because it didn't seem very ideal
The recipe said to let the meat and veggies
cook for a few minutes before adding the stock,
but I added a little bit right away to deglaze the
pot so that the roux wouldn't burn
Don't be worried if the pot looks REEEALLY
full when you add the stock. As long as you
just let it simmer and not boil over, it will
slowly reduce of the next few hours and become
thicker and not so filled to the brim.
I hadn't had okra before so I was excited to
try it in my gumbo. However, I was sad I could
only get frozen okra so I think it cooked faster
than fresh would have and it all but disappeared
in the gumbo :/ I guess if you don't really like
okra, though, this would be the way to go.
The gumbo should be go to go after the 1.5 hrs
of simmering given in the recipe, but I let mine
simmer an extra 30 min and then turned it off
and let it sit in its own heat for another hour
while I prepared the rest of dinner and I think
it thicken up just a little bit more and developed
a richer flavor. I found that the sausage and the
spices on the chicken lended enough salt to
the gumbo, but I did add some more black
pepper to bring out the flavors just a little
bit more. I didn't add any Tabasco so that it
wouldn't be too spicy for my sisters and mom,
but I definitely put some on my individual
serving!
I served my finished gumbo with brown rice
(because I prefer it over white), roasted red
potato salad, tossed greens, and fresh fruit
salad. Another successful DC challenge!