
So, even if my pictures aren't perfect and it seems really confusing, I highly encourage everyone to at least try it once! It's okay if it takes you a long time! I need to cut my 15 minutes down to 3 minutes for competition so I can speak from experience when I say it really does get easier every time you do it. Maybe I'll even post a video of me fabricating when I get my time down just to show that it can be done...

First things first, you want to make sure
your boning knife (on left) and your
chef's knife (on right) are both nice and
sharp so that you can cut through the
flesh and bones with ease. If you do not
have a boning knife, you can just use a
chef's knife, but a boning knife is best.

Secondly, as part of mise en place, get out a
pan for the bones, a pan for the chicken pieces,
and a pan for the skin. If you intend to roast
the bones for stock, use a roasting pan.

Open the chickens from their bags in the sink
to drain so you don't get the blood everywhere.
(Make sure to thoroughly clean and sanitize
the sink afterwards as well as the counter tops!)

Assuming that your chicken is already gutted
of its internal organs, the first cut will be to
remove the wishbone, found just below where
the neck would be. Use your fingers to feels the
V shape of the bone and then make slits with
your boning knife around the shape of the bone.

Use your fingers to feel in the slits and grip
around the bone to pull/wiggle it out.

If the wishbone breaks while you try to remove
it, it's okay, just get all the pieces out as best
as you can and put them in the bone pan.

Next will be to remove the wings. At school we
cut our chickens to make "airline breasts", where
the arm bone is left in. If you don't want the bone
in, you can cut it out as you cut the breast off
of the the ribs. To remove the wings, first cut
on the fat line around the shoulder, as seen above.

Here you are cutting through just the skin
and the meat, not the bone, all the way around.

Next you want to remove the wing in one
movement by bending the elbow backwards
and breaking the joint and then twisting to
remove the wing and the forearm bone, but
not the upper-arm bone. Do this with both
wings.

Here I have the removed wing in my hand and
the chicken with the arm bone still attached
for the airline breast. Place the wings in the
chicken piece pan.

Next, to remove the legs, you want to follow
the fat line again, between the hip and the leg.
You want to carefully just through the skin,
not the meat, so that the flesh is revealed.

Cut the skin far enough up and down so that
you can easily see the legs.

Flip the chicken over and grasp both legs.

Pull the legs backwards and bring
them together until they break.

Now, to remove the legs, use your fingers to
find the sockets of the hip and push into the
crevices to remove the little pockets of meat
there called the "oysters". This step is not
essential, but it's required at school and it is
how good to know how to get all the meat off.

Keep in mind, there are two sockets in the hip,
thus there are two oysters to remove. You
will know whether or not you have gotten the
oysters if you find little pockets of meat still
connected to the hip when you remove the
legs.

Once the oysters are removed, carefully cut
around the hip and then cut in between the leg
bone and hip joint to remove the thigh.

One thigh removed. Repeat with the other side.

Both legs removed.

To separate the lower portion of
the leg from the thigh, follow the
fat line (shown by my finger) on
the inside of the leg.
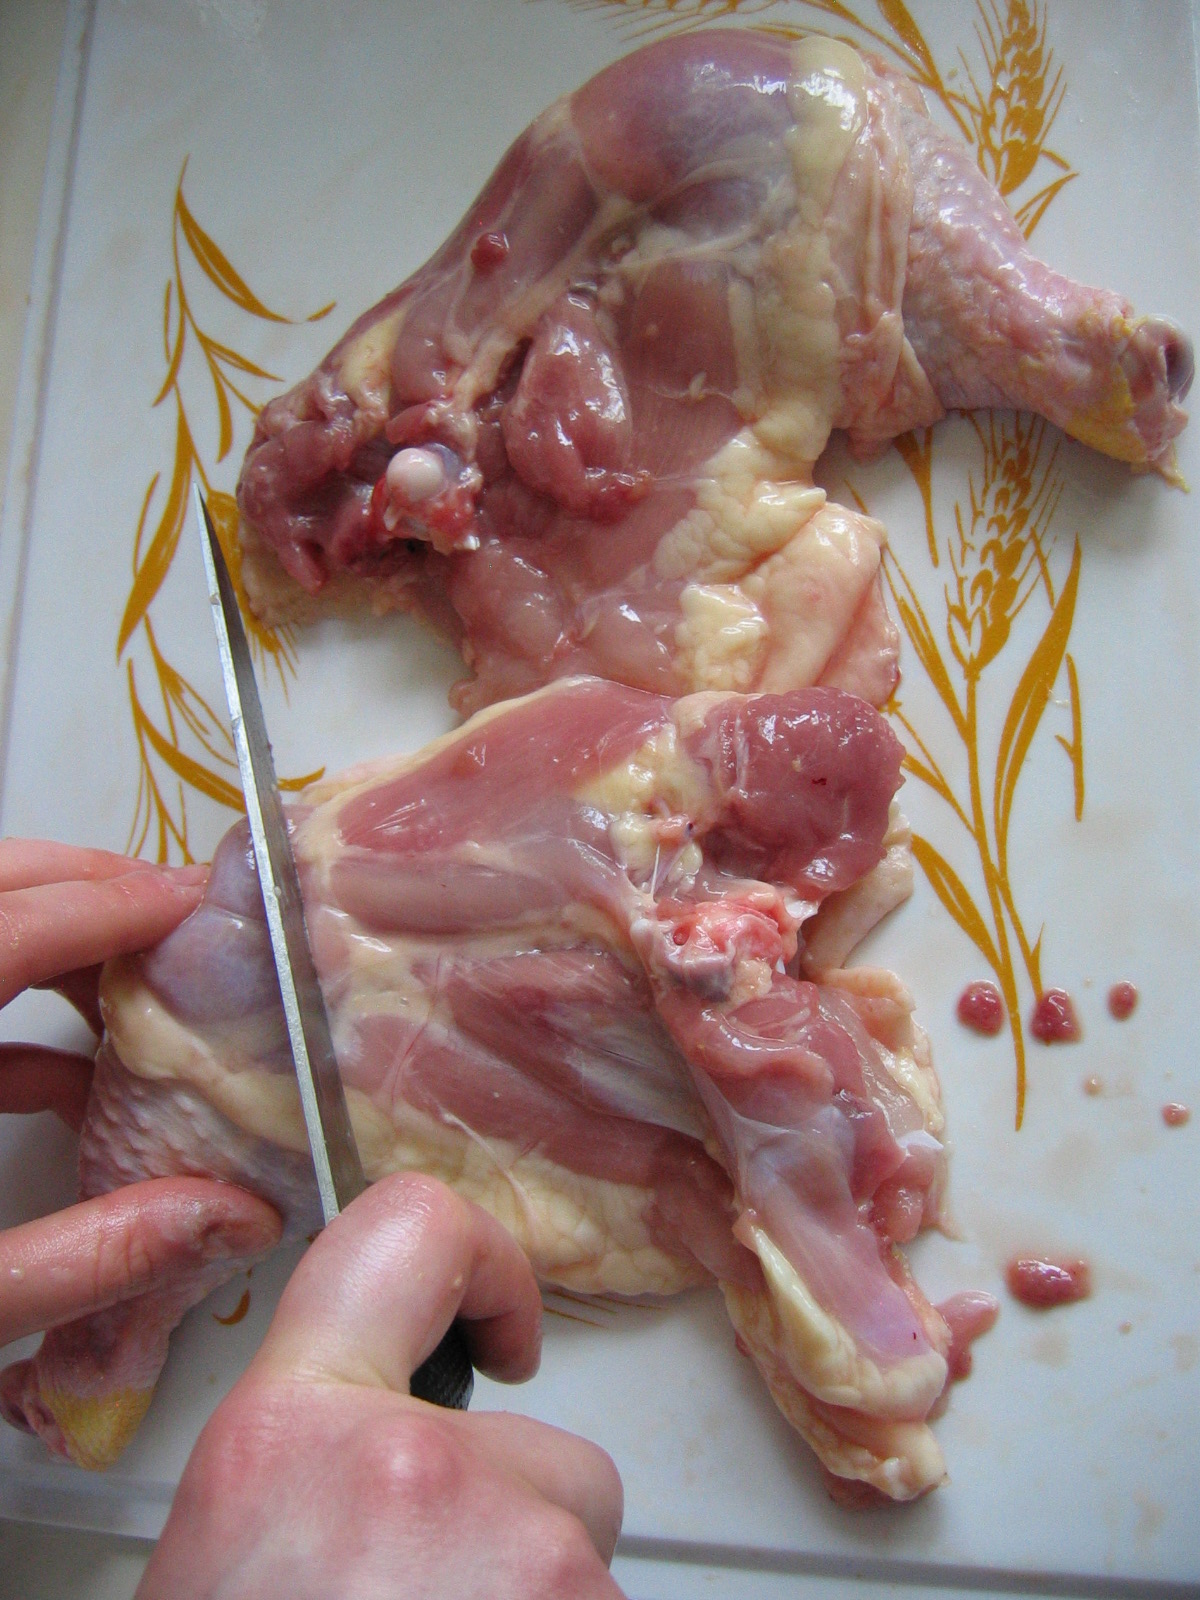
Use your finger to feel where the
joint is in the leg near that fat line
and then use your knife to make one
swift cut in between that joint.

If you feel bone, you are in the wrong
place and just try moving over until
you find the opening. You'll know it's
right because it should cut very
smoothly and easily.

You now have your leg and thigh.
Repeat on the other side and place
all of the legs and thighs in the chicken
piece pan.

The next step is not as neat and
smooth as following fat lines. To
cut out the spine you need to make
a guideline slit on each side of the
spine and then use your chef's knife
to cut through the ribs all the way
down.

FYI: cutting through the spine might take a
bit of work, but just keep pressing hard with
your chef's knife until you get through. As long
as you aren't cutting through to any of the meat,
you are fine.

Remove the spine, cut it into 3-4 in
pieces and place them in the bone
pan.

Once the spine has been removed, you will
see someting that looks like a spearhead
between the two breasts. This is the keel bone.
Make a slit down either side of the keel bone,
just cutting through the top of the flesh.

Use your fingers and go into the slits to separate
the keel bone from the flesh, then remove the
bone.

It's ok if the keel bone breaks as
you are removing it, just make sure
to get all the pieces out and place
them in the bone pan.
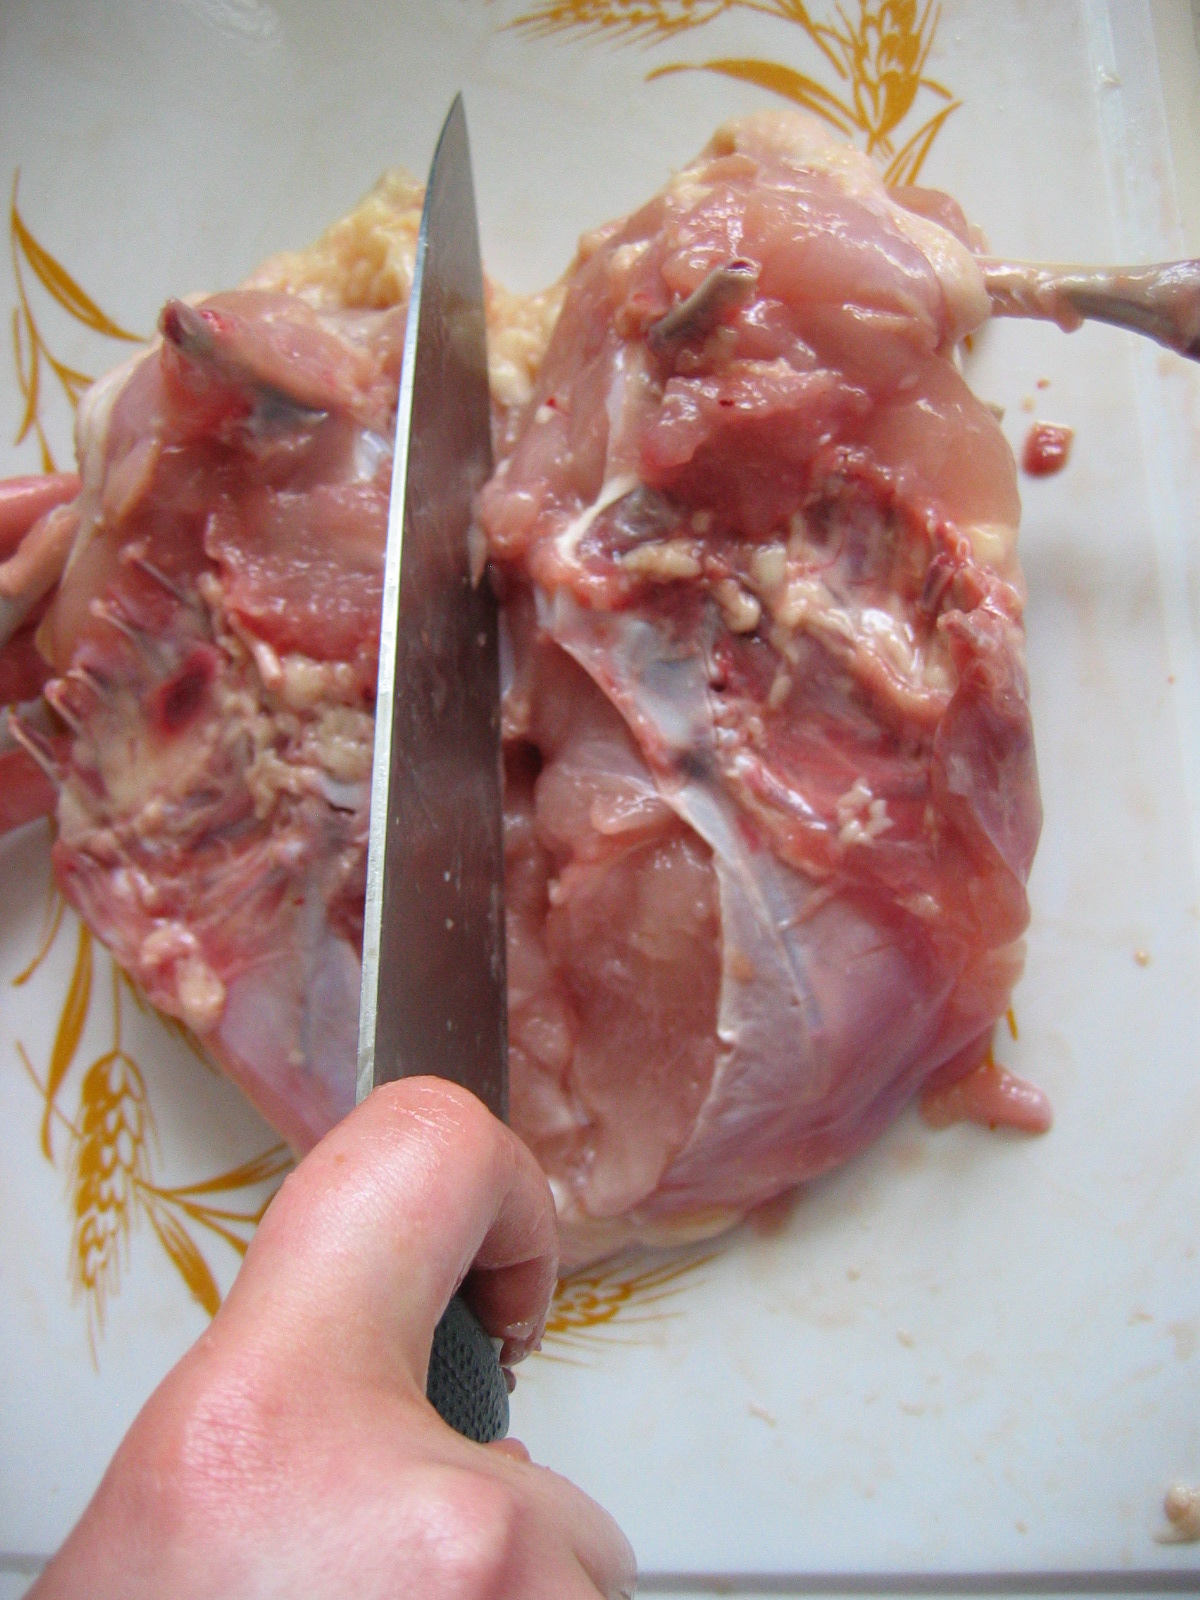
To separate the breasts, just cut
smoothly between them.

Both breasts, ready to debone.

Next, to remove the breasts, carefully use your
boning knife to cut off the ribs without taking
too much of the meat with them.

If you want your breast to be
airlined, be careful not to cut off
the arm bone as you are removing
the ribs. If you do not want the arm
bone in, simply cut it off with the ribs.

Ribs removed from the breast, airline bone left in.

For skinless breasts, simply slip your hand under
the skin and carefully pull it off of the flesh.
If the skin holds on tight, do not rip the skin, use
your knife to cut the skin off where it is connected.
Place the skin in the skin pan to be rendered for fat.

Once the skin is removed, trim off any visible
fat and add to the skin pan. Repeat with the
other breast. (sorry about the creepy-looking
hand..double-jointedness strikes again)
From here you are done fabricating and you can
proceed to use the chicken meat as you wish and
you can render the fat and use the bones to make
stock if desired.
No comments:
Post a Comment