
However, in the midst of my summer craziness, I've also found the satisfaction in enjoying a recipe that was worth waiting for. Two recipes that I've been working on recently come to mind and I think they are both worth sharing, even if they aren't entirely perfected, even if there were things that I would have done differently, because they both forced me to slow down a little bit and really be patient with my food, enjoying the process and not just as much as the end result. You see, the process of making these recipes really isn't all that difficult and the ingredients are pretty humble, but it's the dehydrating in an oven for 8 hours and fermenting in a closet for 3 weeks that makes them special because you have to be patient...very patient. (Which is NOT something I'm naturally good at, but I'm working on it!) So if you decide to try either one of these recipes, which I hope you do, just remember to be patient, have fun, and look forward to the end result (which I certainly turns out wonderfully!) Thanks for reading, enjoy the pics!
The first recipe I only just tried out a few days ago because I had all the supplies, fresh and beautiful in my refrigerator just BEGGING to be used for this particular adventure. I found this recipe for Strawberry Basil Fruit Leather on insockmonkeyslippers.com while browsing food blogs as my daily routine and I just knew I had to give it a whirl.
This recipe ended up being fun to make and pretty easy (besides the waiting!) with near-perfect results! I've adapted the recipe slightly with my own notes just to make it a bit more user-friendly, but don't be scared of this recipe just because I talk too much, it really is easy and I think anyone who has never tried making fruit leather should give it a go (this was my first attempt too!) and everyone who HAS made their own fruit leather, should make this anyways :)
Strawberry Basil Fruit Leather
(adapted from insockmoneyslippers.com)
§ 1 1/2 pound strawberries, washed and hulled
§ ½ cup, lightly packed whole fresh basil leaves
§ 1/2 cup sugar
§ 1 Tbs lemon juice
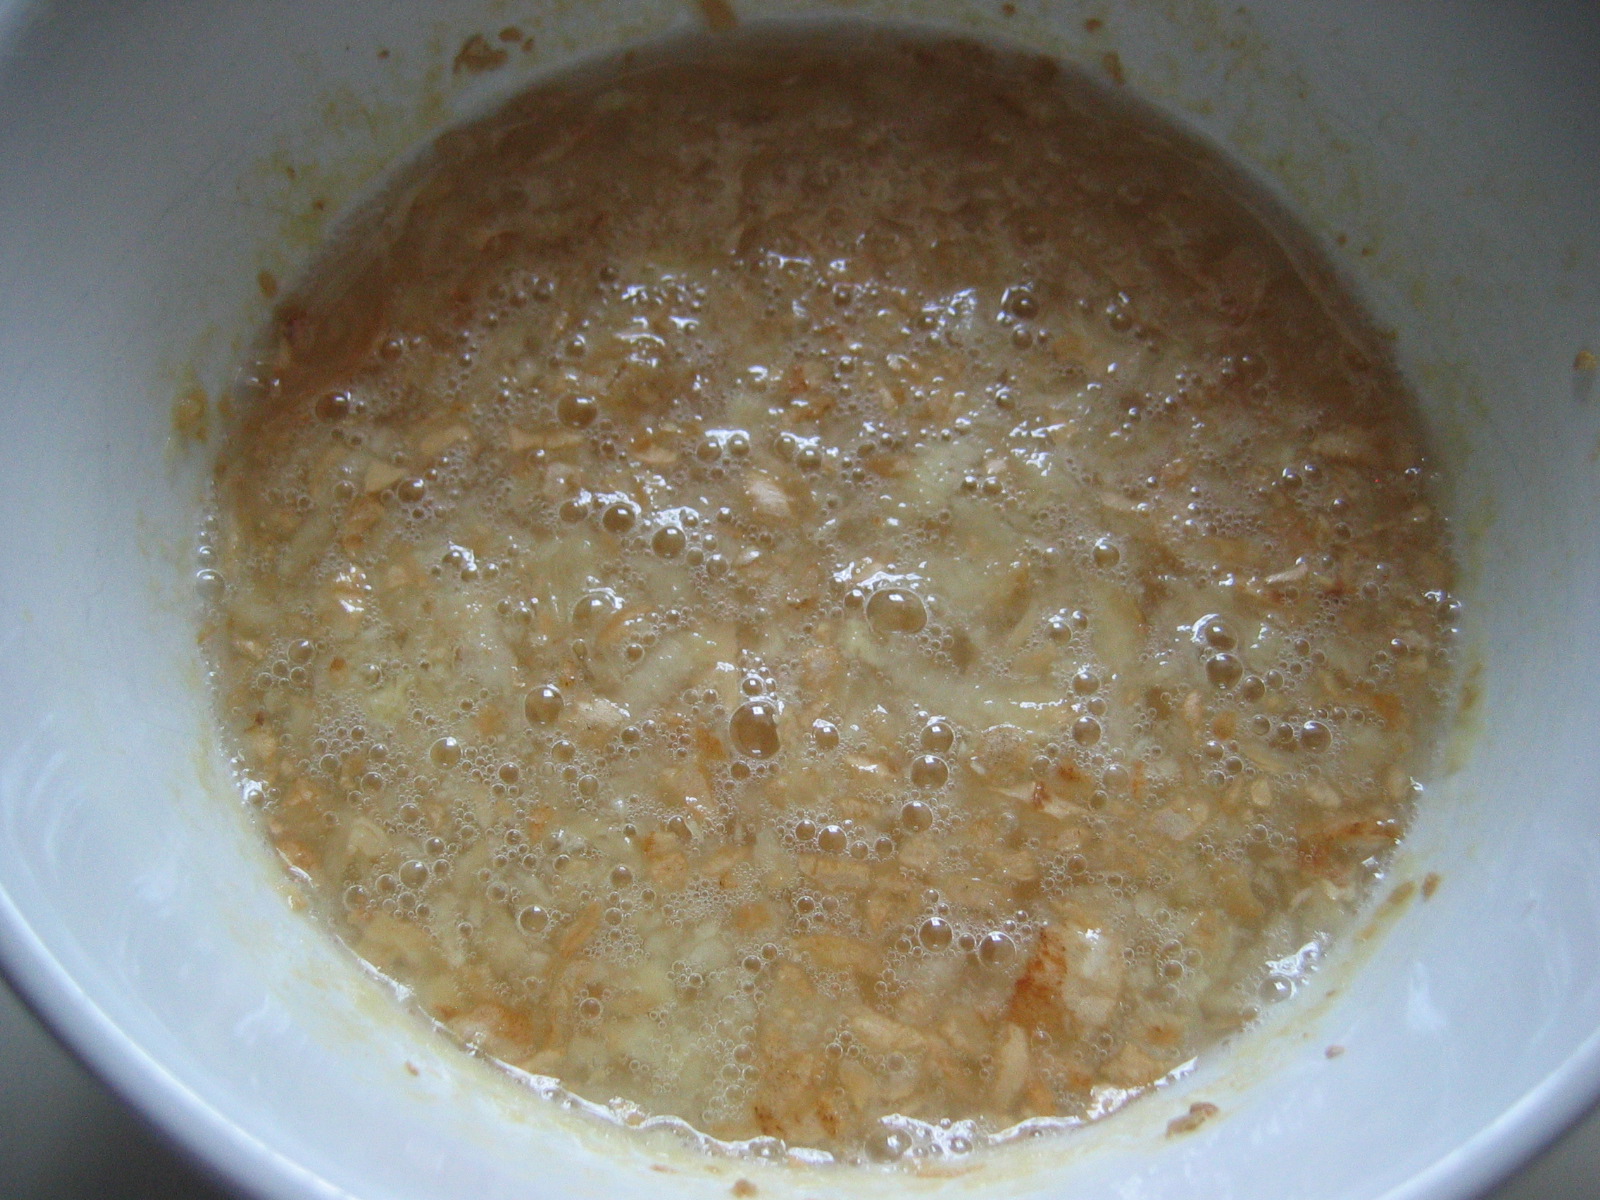
1. Combine all ingredients in a food processor and puree for 1 minute until smooth. If you don’t have a food processor you can finely chop the basil and add everything in a saucepan. Cook for 5 to 10 minutes until the strawberries are soft and mash until smooth with a potato masher.
2. Pour the puree into a pot or saucepan and bring to a boil. Reduce heat to medium-low and simmer for 5 to 10 minutes until the mixture becomes a little thicker.
3. Line jellyroll pan (baking sheet with a rim) with parchment paper that goes up and over the edges and pour the puree onto it. Spread out evenly as possible with a spatula, going all the way to the corners.
4. Place in a 170°F oven for 6 hours (or 120°F for 8 to 10 hours) until the puree is dark, shiny and no longer sticky (make sure you check the center as it cooked slower for me and took longer to dry-out). Let the leather cool completely.
5. Once cool, remove from the pan with the paper intact. Use kitchen shears to cut the fruit leather with the paper into 8 rectangles (the long side in quarters and the short side in half) or other desired shapes. Roll the fruit leather tightly into cigars and tie with a string or twist tie. Store in a plastic bag or air-tight container in the pantry for up to 3 months.
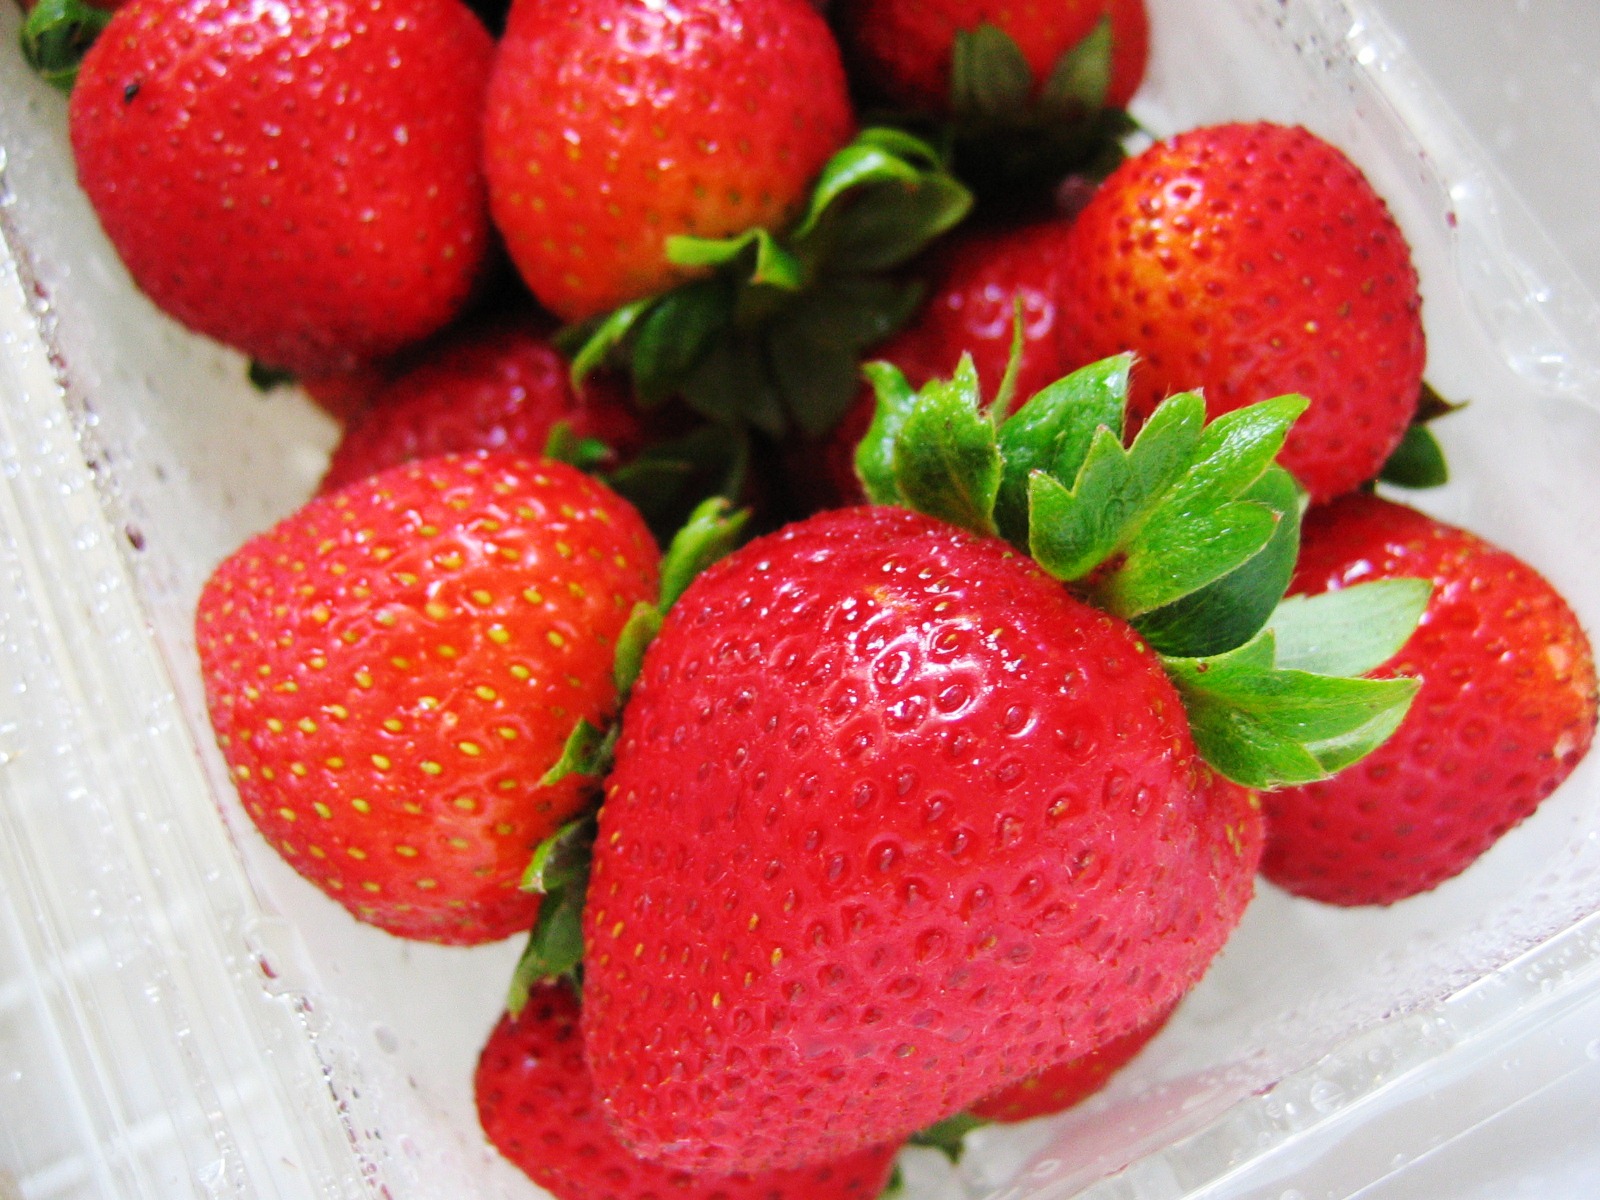
Some of the most gorgeous strawberries I've
seen yet this summer!

The original recipe called for a cup of basil
leaves, but as much as I love basil, I found that
that amount overpowered the strawberries
and ended up tasting too much of pizza
and spaghetti, as my younger sister will agree.
Still, if you taste the puree and think it needs
more, feel free to add more, but remember
the flavor will come out more as it is dehydrated
and will take on more of a savory, cooked flavor
than it's fresh, raw flavor.

A food processor makes this a breeze, but
the recipe does provide alternate directions
for those of you who don't have one...yet :)

I cooked my leather for about 9 hours at
100*F and that got it just about perfect except
for the middle which was still sticky (most ovens
have warmer areas and cooler areas so that's
not a surprise) so I turned off the oven and
just let the leather sit in there overnight.
The middle was still a little sticky the next
day, but not too bad. Next time I may just cut
off the stick part and let it cook longer on its own.

Using sharp kitchen scissors for this task is
a whole lot easier than a knife! I cut my sheet
of leather into 8 pieces, but feel free to make
them whatever size or shape you want.

I cut off the excess paper on the edges except
this little lip that I left to start the roll.

Roll tightly...

...then tie with a string, a cute ribbon, or just
a twist tie.

Now looking back at insockmonkeyslippers's
pictures, I didn't realize how similar mine are...
woops! Oh well! Thanks for the recipe! :)
Okay, now I'll try to keep this second recipe brief, but it's just been nagging me for weeks since I finished it so even if all the kinks are QUITE worked out, I think I can give enough info for it to be ready to post.
So a little bit of an explanation on this recipe to start: my brother is a big fan of the non-alcoholic, fermented drink ginger beer, but he can only get it a few places and it can be kindof expensive. He had just recently bought a few packs when shopping with me one day when I thought it would be interesting to see if you could MAKE ginger beer. Sure enough, with a few clicks I quickly found a whole bunch of recipes! The picture that caught my eye though, was from innbrooklyn.wordpress.com so I went there and read all about how EASY it actually is to make ginger beer right in your home with just a few simple tools and ingredients. Taking innbrooklyn's advice, I got Wild Fermentation from the library and was instantly hooked! This book is FULL of awesome recipes and ideas that you just HAVE to check out, though it is organized and written a bit strangely...So my recipe below is from that book, but I've revised it so it is not as confusing and added my own notes as always to hopefully help you out. Enjoy!
Ginger Beer
(adapted from Wild Fermentation, by Sandor Ellix Katz)
Ingredients:
For the ginger bug:
§ 3 inches, more or less, fresh gingerroot
§ ¼ cup, more or less, granulated white sugar
§ 1 cup water
For the ginger beer:
§ Water
§ 2-8 inches fresh ginger, more or less depending on desired flavor, grated
§ 2 cups granulated white sugar
§ Juice of 2 lemons
Preparation:
1. Before you start: make sure you have 10 or 12 large bottles (enough to hold 1 gallon) in which to ferment your ginger beer. Glass is preferable, but plastic should work too as long as the bottles can be sealed very well. Before you make your ginger beer, boil the bottles (in batches if needed) in a large pot of water for about 10 min to sterilize.
2. Start the “ginger bug” by adding 2 tsp grated fresh ginger (does not need to be peeled) and 2 tsp granulated white sugar to 1 cup water. Stir to combine, cover with cheesecloth (or a paper towel with holes punched in it will work), and leave in a warm place (consider labeling this odd concoction so that an unknowing passerby does not dispose of it!).
3. Continue adding 2 tsps each of grated fresh ginger and sugar once a day for about 3 days (or anywhere from 2-7) until the ginger bug starts to get bubbly. Now you are ready to make your ginger beer. If you are not ready to make your beer right away, you can keep feeding your ginger bug every other day with the 2 tsps of ginger and sugar for a week or so until you have time.
4. To make the ginger beer: Boil 2 quarts water and add grated about 2 inches grated ginger (can have skin) for a mild-tasting beer or up to 7 or 8 for an intense ginger flavor (I did 6 inches the first time and it wasn’t enough for me). Also add 1 ½ cups sugar and bring the mixture back up to a boil and boil for about 15 min then cool completely.
5. Strain out the cooled ginger water and the ginger bug and combine them with the lemon juice. (If you plan to make ginger beer in an ongoing rhythm, you will want to save a few Tbsp of the ginger bug and replenish it with water, ginger, and sugar). Measure out how much ginger beer mixture you have in volume and then put it in a large container and add enough water to the mixture to make it 1 gallon.
6. Stir the mixture well to combine and then divide the mixture among the bottles, making sure to leave a few inches at the top for air pressure so that the bottles do not burst. Reseal all of the bottles very well so that they do not leak if turned over and so that carbonation does not escape. Place the bottles in a save, warm place for 2-3 weeks to ferment. (Take one out at 2 weeks and open it up. If it isn’t fully carbonated, give it another week or so).
7. Chill the bottles well before opening and then open them someplace with lots of room (preferable outdoors or over a sink!) and be ready with glasses to catch the overflowing carbonation that comes rushing out!

Ginger Bug Day 1: water, sugar, and ginger,
no sign of life whatsoever

Ginger Bug Day 2: It's fed, but it still doesn't
look like more than backwash

Ginger Bug Day 3: Fed again and starting to
look more interesting, no sign of bubbles or
fermentation though

Ginger Bug Day 4: *Gasp* are those bubbles
I see? Hmm...still they are pretty small though...
don't think it's quite ready yet
Ginger Bug Day 5: Bubbly? Check! Ready to roll!

Before you continue with your ginger beer-making,
make sure you have bottles with enough capacity
to hold 1 gallon. Then make sure you sterilize them
by boiling them in a large pot of water for 10 min
(sterilize the lids as well) and make sure they are
free of cracks or weak spots and can be tightly sealed

Above: 3 inches of ginger for mild ginger beer
Below: 5 inches of ginger for strong ginger beer
(I used 5 inches and it wasn't strong enough for
me though so I will try 7 or 8 inches next time)

5 inches grated fresh ginger adds up
to 3.1 oz to be exact

Boiling for 15 min

Strain it out. (You could use cheesecloth if you
really want to make sure you don't get any little
bits in your drink, but really I think they would
only contribute to your end result so why go
through the extra trouble?)

Looks kinda like chicken stock, mm?

The annoying part of this was pouring the strained
juice into a bunch of measuring cups to see how much
water I needed to add to get to a gallon. I couldn't
think of any simpler way of doing it... :/

This part can also get a little sticky...

Scooping out a quart of ginger water at a time
and then pouring it into the bottles made it
a lot easier!

I got about 10 (12oz) bottles in one batch,
filled with an inch or two of head room.
You want the head room to allow
for the air pressure that will
accumulate as the beer ferments
(too full and your bottles may burst)

I stored my bottles in my bedroom,
with one group in a box covered with
a heat blanket to keep it warm as
recommended, and the other in a box,
covered at room temperature.

After 2 weeks of fermenting, the results between
my two test boxes are about the same. The
bottles have developed a sediment on the bottom
and some have a slight mold growing on top
(probably because I didn't boil the bottles that time,
I just washed them out in hot water), but after
opening a tester, they was very little carbonation
or flavor development so I gave them another week.

A bit over 3 weeks, ready to try again!

The beer has developed a nice pale gingery color
and is very clear (as long as I didn't disturb the
sediment on the bottom).

And like I'd mentioned before, some of the bottles
developed a film of white mold that turned a
weird shade of green-blue by the third week,
which I think was due to my improper sanitizing.
I poured the mold off of one of these and the liquid
beneath was not moldy so I took a sip. It didn't make
me sick or anything, at least not that one drink,
but it did have an bitter off-taste that you
definitely wouldn't want, so just watch
out for this.

I was sad to find that, after opening several
bottles, there was little or no reaction :(
Finally, I was down to 2 last bottles and I got...
THIS!!! Bubbles EVERYWHERE!! I was so excited!

I would DEFINITELY recommend
opening these outside or at least over
a big sink because I had ginger beer
pouring all over the place just from
my two that actually turned out all right!

The bubbles sure made me happy,
but I was even more delighted to find
that it really did taste good too! Like
I said before though, I think it needed a
lot more ginger because it reminded me
more of ginger ale than ginger beer.
As for the bottles that didn't come out so
great, I think my mistake there was not
sealing the bottles all the way so that they
were airtight and so it allowed the carbonation
to escape and I ended up with a very
yeasty flavored ginger drink instead of
something fizzy and fun.
Oh my goodness! Fruit leather! It was my absolute favorite snack as a kid, and I haven't had it in years. I'm definitely trying that recipe. You've seriously made my day with this post! :)
ReplyDeleteI know right?? it's just like the coolest thing ever! I can't wait to try some more flavors when I get tired of eating fresh fruit (riiiiiight) aw I'm so glad, you're posts always make my day, seriously!
ReplyDelete